Do you find yourself saying this after migrating your WordPress site: “After uploading my site from MAMP, where it worked fine, my WordPress hyperlinks point to the wrong site level”?
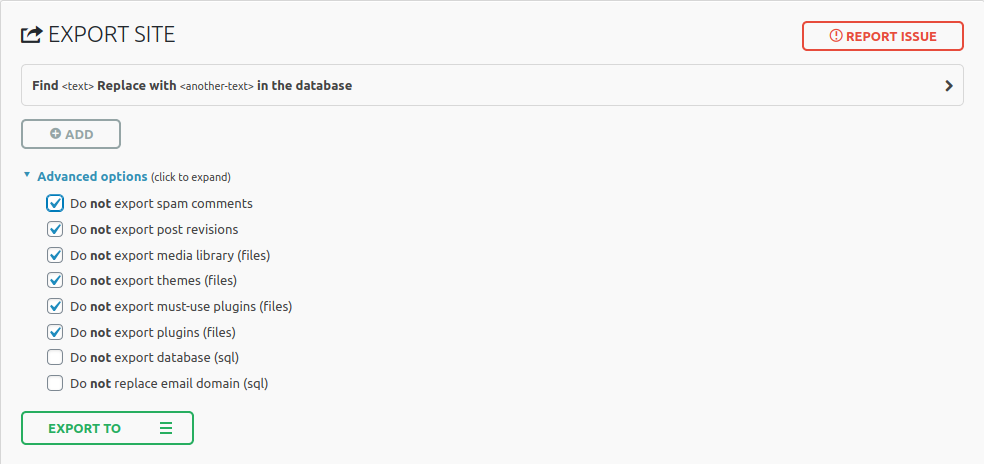
Screen capture of the All-in-One WordPress Migration plugin’s Advanced Options screen.
Many web designers love ServMask.com‘s All-in-One WordPress Migration plugin. It’s easy, it works very well. But it also has a file size limit of 512Mb. So what is the All-in-One-WP-Migration 512Mb limit workaround?
Or, you may also have encountered a recent bug where the upload progress stalls before completion. So, in either case, here’s a solution that will help you get your files on the server.
All-in-One-WP-Migration 512Mb limit workaround is just Old School Tech
If using static files to build your web site, the most common way to move files from the development machine to the public server is to use old school FTP or the more modern and secure SFTP.
Either of these two types of file transfers can be used to exclude some of the files needing to be uploaded from being included in the All-in-One archive file.
Uploads is by Far the Heaviest WordPress Folder
In web design in general, visual and audio-visual media files (such as gif, jpeg, and png images, but also mp4 video and mp3 audio files, etc) are the usual culprits in terms of being bandwidth hogs.
Non web files like PDFs (especially for graphic designers) and Microsoft Office documents (for businesses) can also take up a lot of space in the WordPress media library.
Option 1: Optimize!
Before considering taking any other actions, make sure your image files and other media are as optimized as possible. Read this post about image optimization and download ImageOptim (it’s free).
Option 2: Convert your PNG files to JPGs
Portable Network Graphic files are very popular, and are the default format for many applications on macOS (like screen captures). They tend however to be very heavy, especially the PNG-24 variety.
If you have a lot of PNG files already uploaded to your WordPress media library, consider installing the PNG 2 JPG plugin. With it you can select the non-transparent PNGs and automatically convert them to JPGs without breaking any links in your web pages.
Just make sure to make a backup of your media library, and select the option to delete the original PNG files.
Option 3: The Actual 512Mb limit workaround
The actual workaround consists of two parts:
Export only a small amount of data using the plugin.
Use SFTP to upload the bulk of the files using an FTP program like FileZilla.
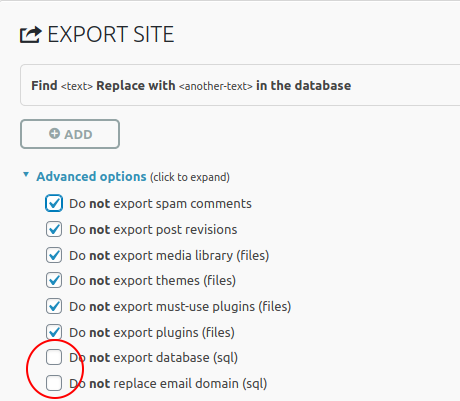
Screen capture of the All-in-One-WP-Migration 512Mb limit workaround
In the screenshot above, you will notice that we do not export useless data from the database (spam, revisions) as well as files that we can easily transfer via SFTP.
In fact, all we really need the plugin to do is export the MySQL data and automatically replace the “localhost” part of any file paths and URLs with the name of the public web server (“207.162.58.43/~gwd”).
Of course, you can tweak these preferences according to your needs, but the main concept is to not export the media files (aka the “uploads” folder). This will keep your All-in-One WP Migration archive file as small as possible.
SFTP to the Rescue
The last part of the process is just logging into the web server and uploading your files. Any SFTP capable program can do that easily.
Warning: do not upload the wp-config.php and the .htaccess files. these are custom configured for your localhost and need to be modified on the remote server. If you have WordPress already installed and working on the server, then these files are already there and do not need to be updated.
However, considering the number of files in a default WordPress installation the upload may take longer than you would hope for. Here are a few tweaks that can help:
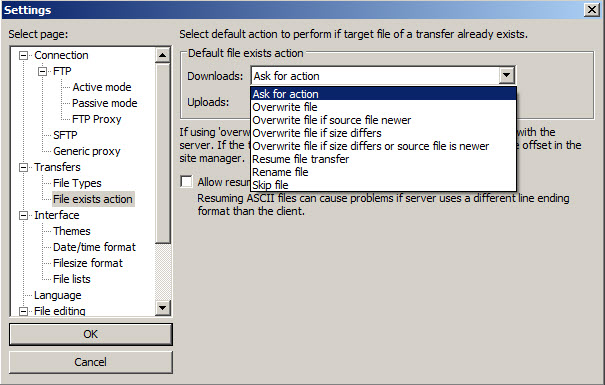
If you use FileZilla, you can use the option to only replace files when the ones you are uploading are newer or of a different file size.
The screenshot below shows the screen where you set the default value, but you will be prompted for the same choice when you start uploading.
Screenshot of the FileZilla default action preferences on Windows.
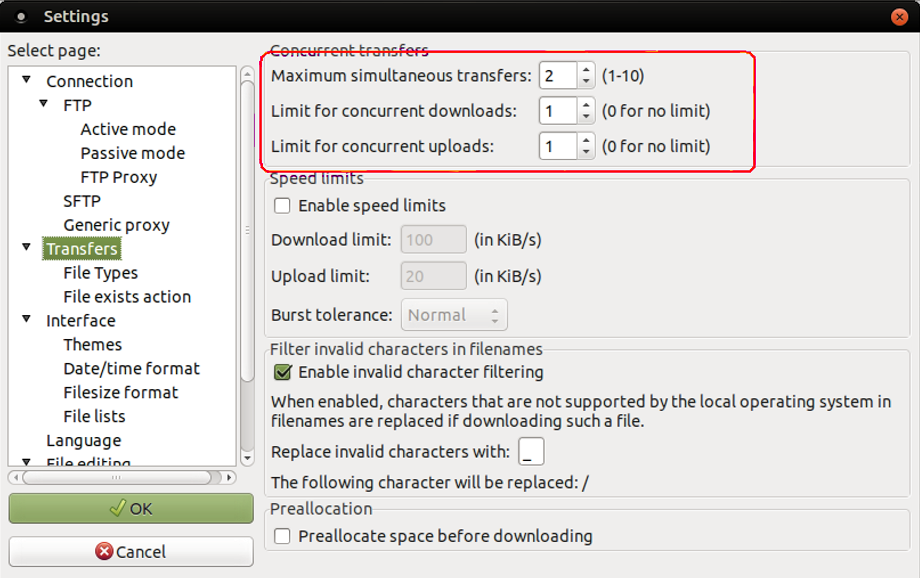
The other optimization you can use for FileZilla is to increase the number of simultaneous transfers (first field in the screen capture below). Set the two other fields to zero.
FileZilla’s default transfers settings panel on Ubuntu Linux.
This might actually be a good time to use Dreamweaver
And finally, your last option would be use AdobeDreamweaver to handle the SFTP uploads.
Dreamweaver’s local vs remote site comparison algorithm is quite good and will only upload the files that are new or have been edited since the last synchronization.
If all else fails…
Obviously, a workaround is just that: a workaround. If for whatever reason it doesn’t work we can still transfer the web site. We just have to do it manually (without the help of an automated plugin).
Export the database as a SQL file
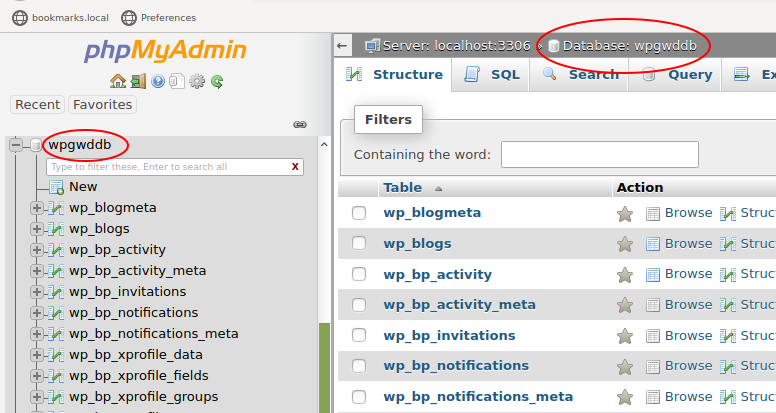
Open up your web browser on localhost and navigate to phpmyadmin. Select your WordPress database.
View of a WordPress database loaded in PHPMyAdmin
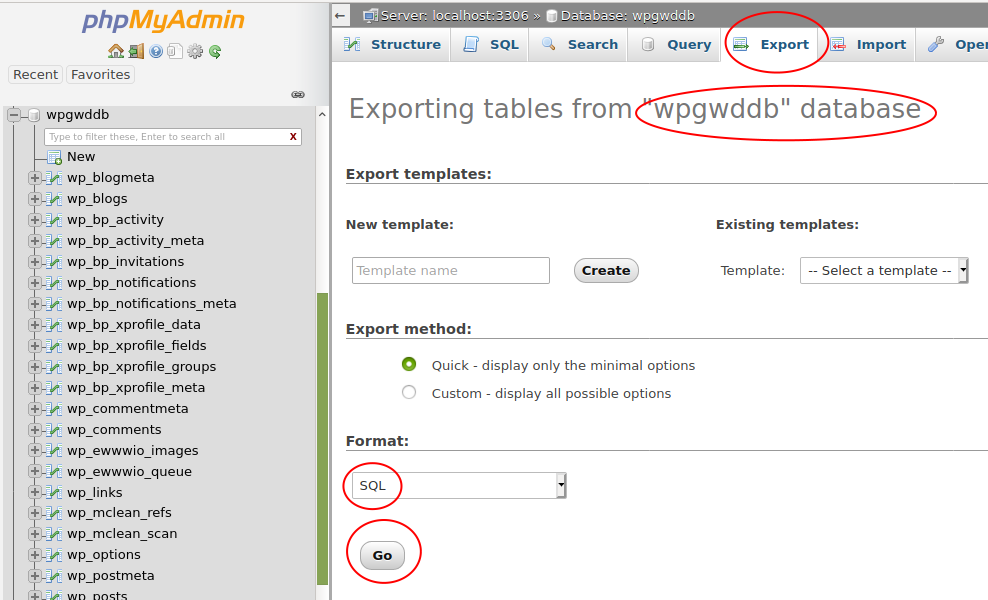
Next, click the Export tab.
View of the PHPMyAdmin database export page.
Make sure you have selected the database, not one of it’s tables. You can check this by looking at the header on the Export page. There are no options to set on this page, the default values are correct.
Click Go to save the SQL file.
(If the SQL shows up on screen instead of downloading it automatically, you can select all and paste it into a text file manually. Or, you can click the Custom radio button and select the “Save output to a file” radio button.)
Search and Replace the URL in the SQL File
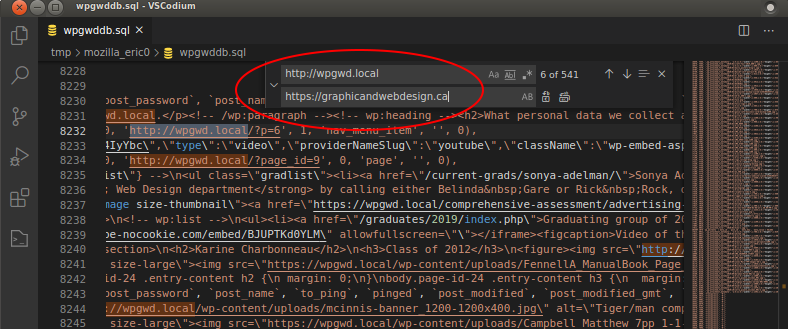
View of a WordPress SQL file opened in VSCodium with the Search & Replace function active.
Open the SQL file you just downloaded in your favorite plain text editor.
Do not use Apple’s TextEdit (by default it is a Rich Text Format editor) nor Microsoft Word. Use plain text editors like BBEdit, Visual Studio Code/Codium, Sublime Text, etc.
Use the Search and Replace function to search for your localhost name. For example: http://localhost:8888. Replace it with the name of your remote server (and folder if necessary). For example:
Pay special attention to the http on localhost vs the https on the remote server. Do a few spot checks to see if all the paths are correct by searching for http.
Delete the old Database tables using PHPMyAdmin on the Remote Server
Now that the database file has been updated with the new paths, you need to login to the remote server and open PHPMyAdmin.
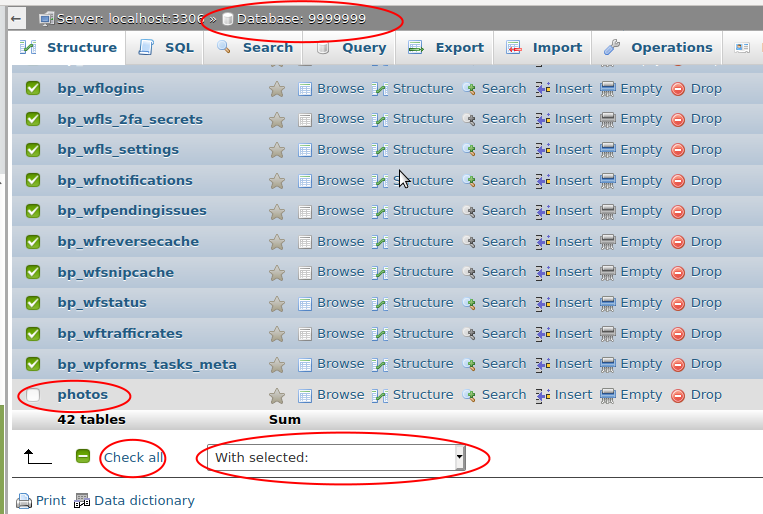
On the Graphic and Web Design server, students only have access to their own database. So there is no need to select it. In PHPMyAdmin, you will select all the data tables and “drop” them which is database-speak for deleting them.
If you previously uploaded any other tables, for example the “photos” table for the PHP Photo Gallery project, deselect that table by unchecking its box before continuing.
View of PHPMyAdmin displaying all WordPress database tables selected. The only non-WordPress table is deselected.
To drop all the selected tables, click the “With selected:” drop-down menu and choose “Drop”. This will bring you to another page where you will need to confirm the delete action.
Upload the SQL file to PHPMyAdmin on the Remote Server
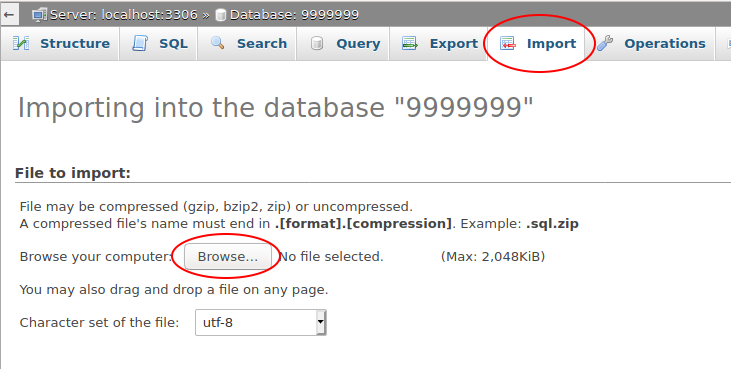
Next, go to the PHPMyAdmin Import tab and click Browse to select your modified SQL file. There should be not options to select as the default values will work fine.
PHPMyAdmin’s import screen.
Once you have successfully imported the SQL file, and you have uploaded the new or changed files with FileZilla or Dreamweaver, you should empty your browser’s cache and go visit your web site to see if it works.
Hopefully, all works as intended!
If you have any questions or comments, drop them in the comments section below.