Note
The screenshots in this tutorial were created on both an iMac (macOS 10.13.6) and a Ubuntu 18.04 Linux machine. When you configuring your instance of Virtualbox the appearance of the interface and the location of some controls may be different. The functionality remains the same on every platform (macOS, Windows or Linux).
Case-sensitivity
Please note that Linux is a case-sensitive filesystem. This means that “file.html” and “File.html” (different capitalization of the letter F) are understood by the computer as two different files!
So, in web design, please standardize your file or folder naming to:
- lowercase letter and/or numbers only
- periods reserved for use as the last character before the file name extension ex: .html, .css, etc.
- no spaces in file/folder names
Text Encoding
For all text files it is assumed the default character encoding is UTF-8.
Credentials
The virtual machine is set to auto-login using the following info:
user: student
password: gwd2019
How-To Install the Virtual Machine
- Download the zipped GWD LAMP Server 2019.zip archive.
- Decompress the file.
Open the Virtualbox application.
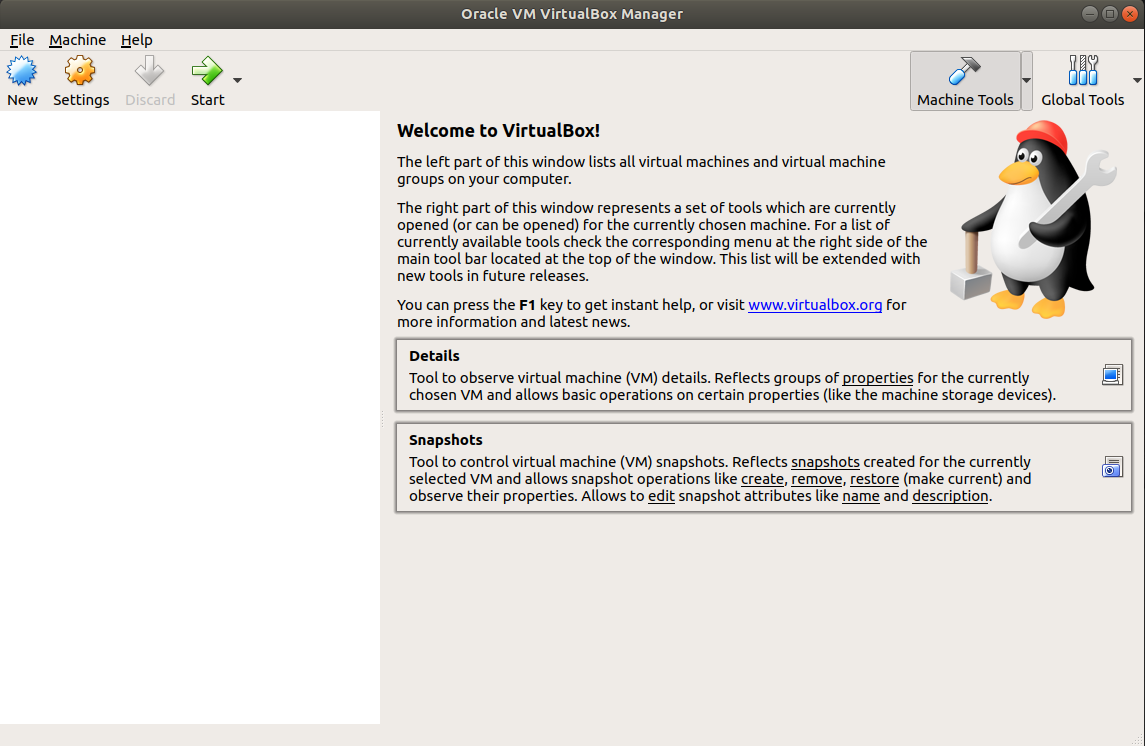
Click New.
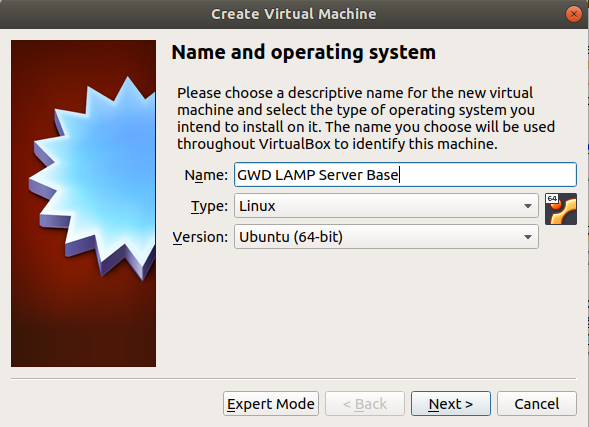
- Give the virtual machine a name you will recognize easily, such as “GWD LAMP Server Base”.
- Select “Linux”.
- Select “Ubuntu 64 bit”.
- Set the RAM memory setting to 4Gb or so.
- You can experiment with different RAM memory values depending on how much RAM you have available on your Mac or PC (ie the “host” machine).

- Select “Use an existing virtual hard disk file”.
- Click the folder icon at far right.
- Navigate to and select the “GWD LAMP Server 2019.vdi” file you decompressed in Step #1.
- Click “Create”.

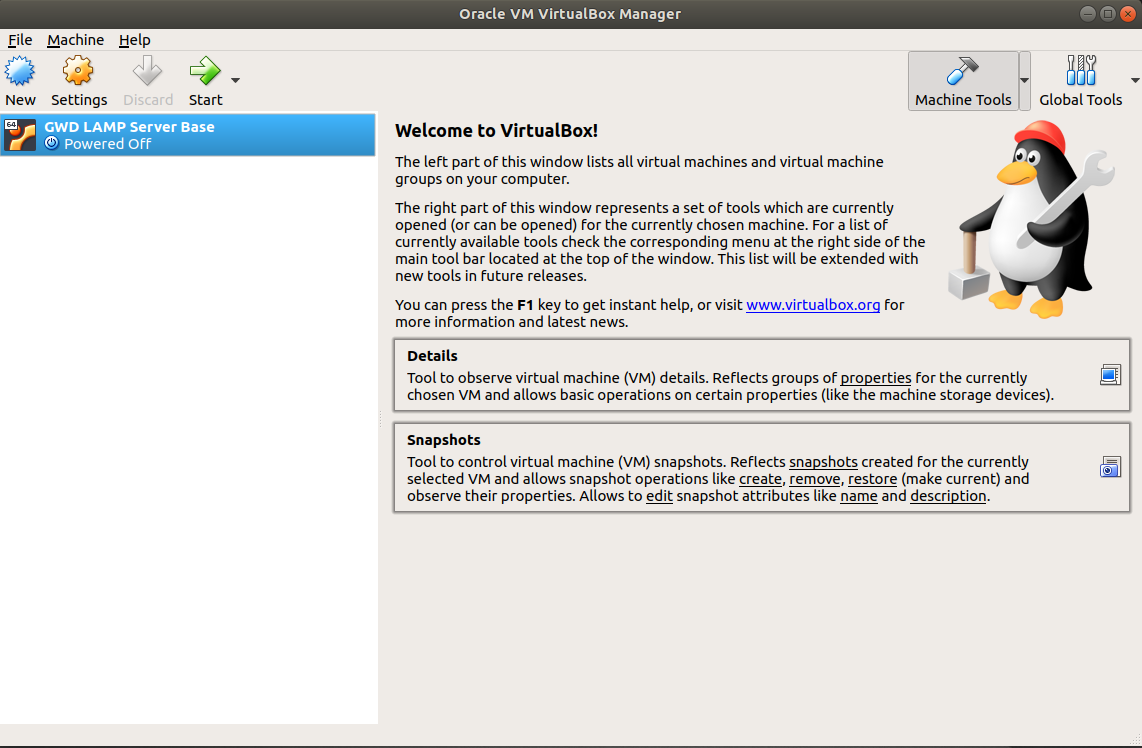
Virtual Machine is now ready
Close the Virtual Machine Host level
To close the virtual machines you have three options. Start by click the red circle (top-left of the window on macOS).
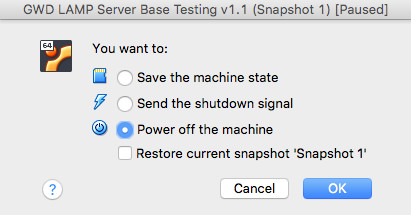
Save the Machine State
This saves the computer as is at the moment you decide to close it down. In other words, if you are browsing a web site, when you relauch the machine you will be back in your browser on the same page.
Send the shutdown signal
Tells the computer to shutdown, but the shutdown message is sent from the Virtualbox application on the host.
Power off the machine
As the name implies, this is turning the VM off abruptly. May cause data loss if the VM was computing something. Useful only when the virtual machine freezes.
Close the Virtual Machine (VM level)
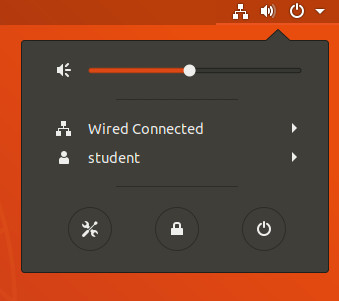
To close, restart or log-off from within the virtual machine use the system menu as if in front of a desktop computer. Find “shutdown” and click the icon.
Using the graphic user interface: (click the bottom-right icon)
Or from the Terminal command-line interface:
sudo shutdown-h now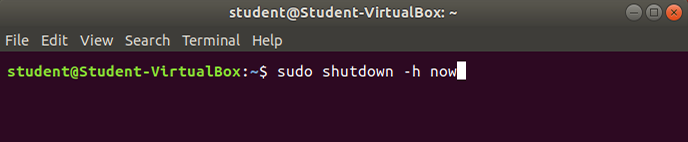
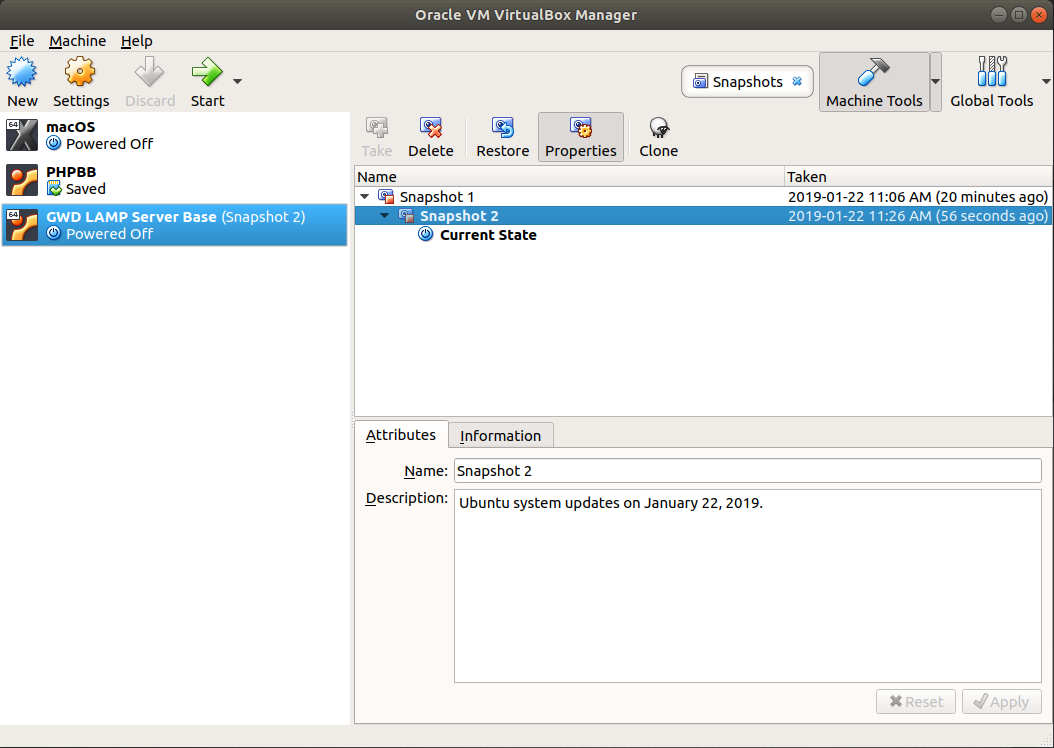
Save a snapshot of the VM
Save the current state (specifically, with the new software installed or settings changed) of the computer using the Virtualbox application on the host. Add a sentence in the “Description” field to know what changed from the previous save.
Launch the Virtual Machine
Click the green “Start”arrow (or double-click the server name) to start the virtual computer.
Configure the Virtual Machine
Double check the VM’s settings
- Click “Settings”.
- In the “General” pane, go to “Advanced”.
- Change the “Shared Clipboard” and the “Drag’n’Drop” both to “Bidirectional”. This will allow you to copy & paste as well as drag files to and from the virtual machine to your host computer.
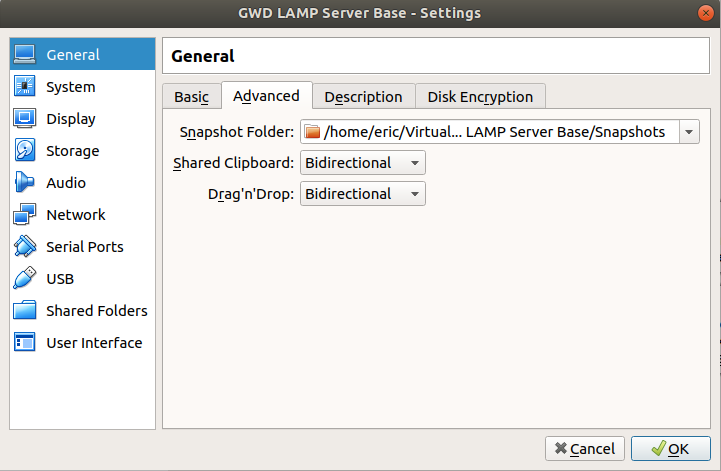
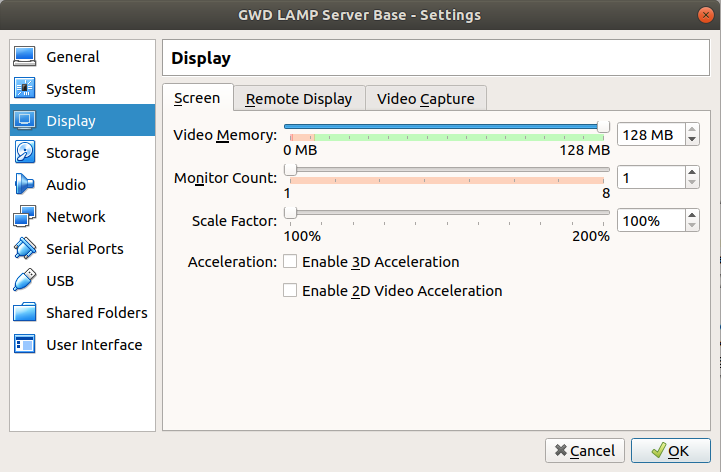
- Set the video card memory to 128Mb.
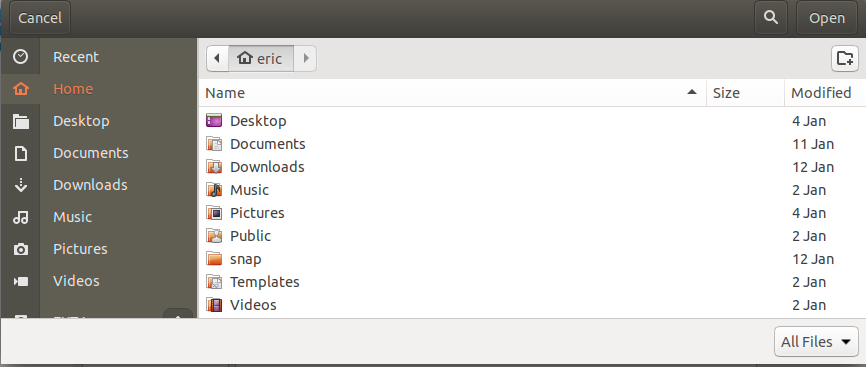
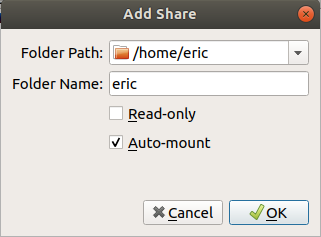
- In “Shared Folder” go choose your student number (at school), or your user folder (/Users/yourUserName/) on a Mac. Or “My Documents” on Windows. Choose whichever location you usually put your files in.
- Use the “automount” option to automatically load the shared folders when the virtual machine starts.
Adjust the virtual machine’s memory as needed
Just as any computer, a virtual machine needs memory to run well. If you find your copy of the GWD LAMP Server Base runs slowly, turn off the machine and go into the settings. Try 2Gb (2048), or 4Gb (4096).
Save a snapshot of the VM
See above to see how to save a snapshot because you changed the settings and everything still works.
Update the software
Open the Terminal.
sudo apt update
sudo apt upgrade
Close the virtual machine
You changed the operating system. A restart (aka “reboot”) is usually a good idea, and is sometimes required.
See how-to above.
Save a snapshot of the VM
You changed the operating system. If the VM didn’t crash, save it.
(See how-to above.)
Install the Web Server software
Start the virtual machine
(See above.)
Start the Terminal.
Use sudo apt install + name of software
sudo apt install apache2Install the Synaptic package manager
sudo apt install synapticStart Synaptic
After the installation completes, launch the Synaptic package manager gui application.
sudo synaptic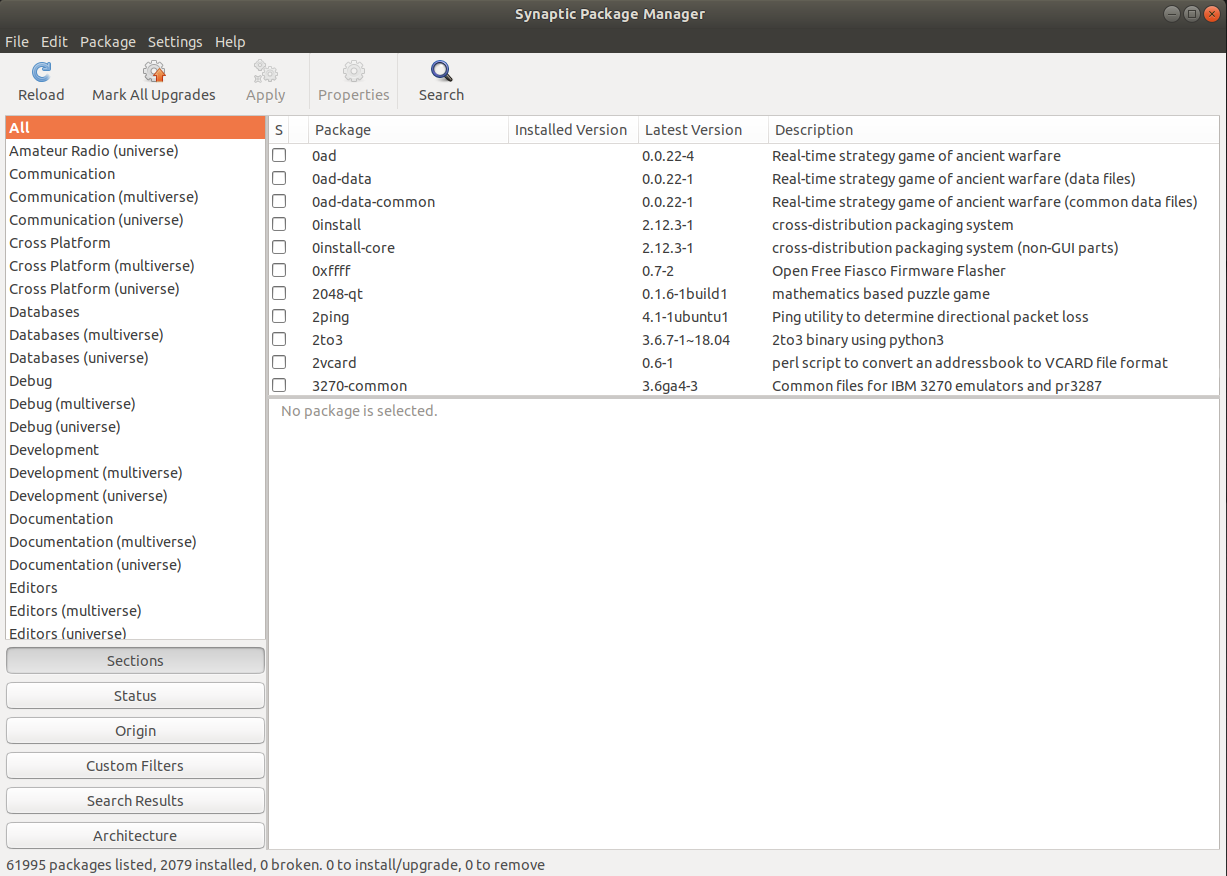
Find MySQL package
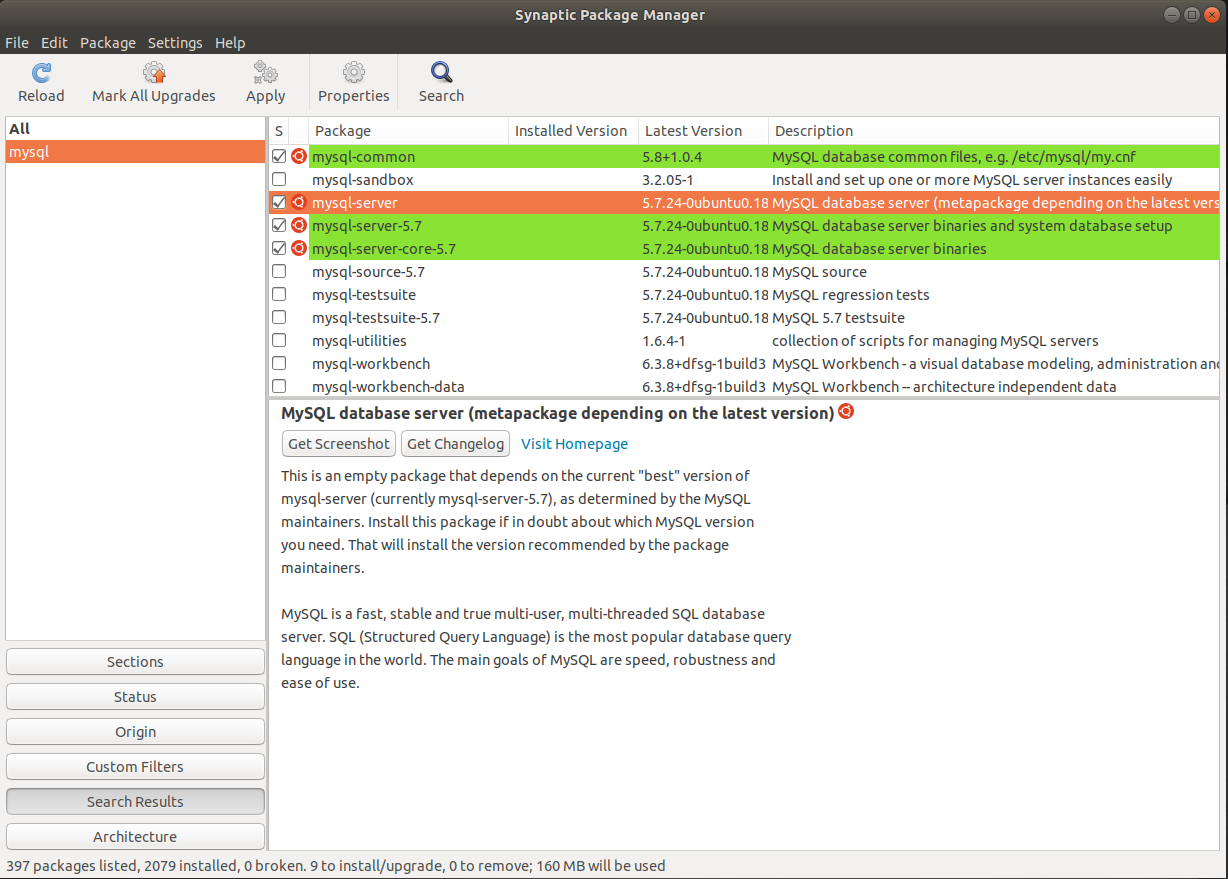
After the Synaptic starts, click the Search icon at right of the icons menu and enter “mysql”.
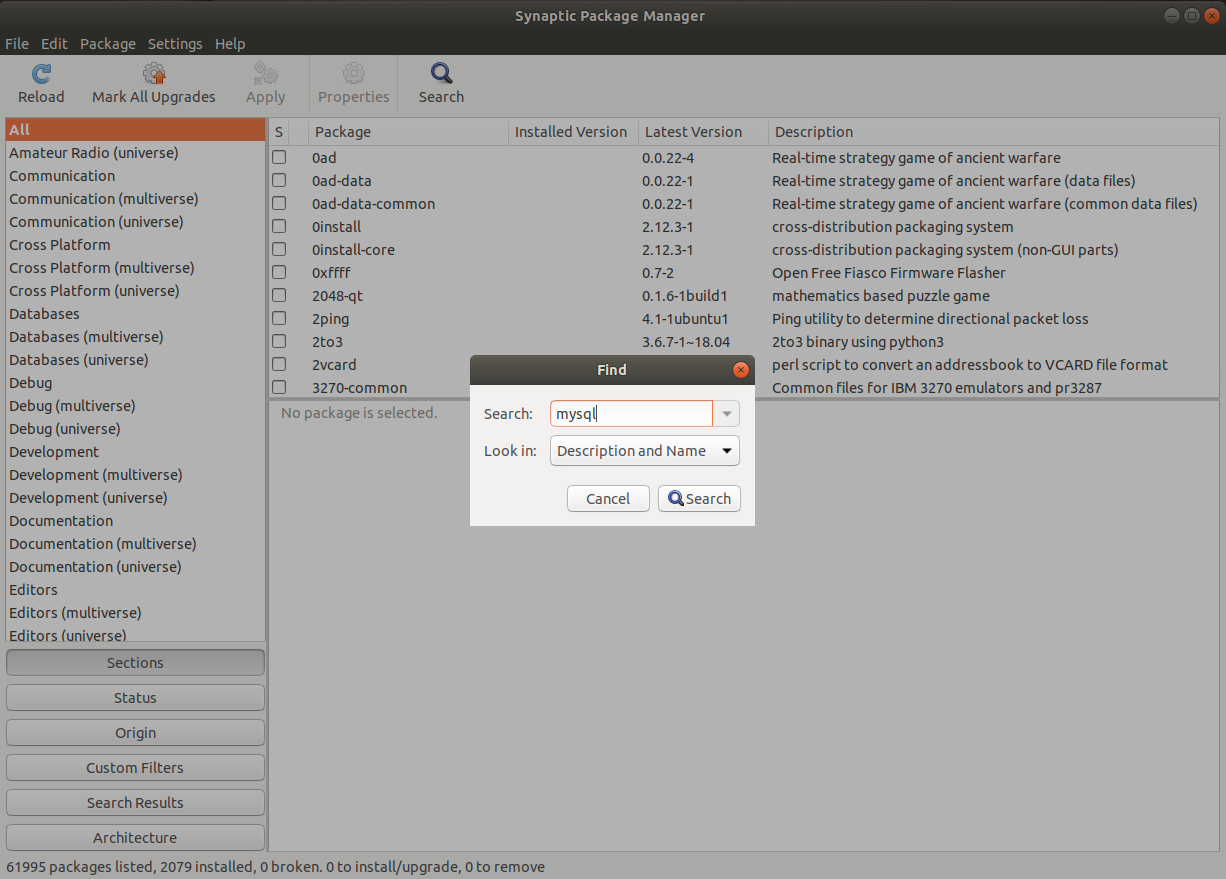
Once the search results load, click the “mysql-server” item. (In the text description it should say “metapackage”, “empty” or “dummy”. This means it’s a default choice that always loads the best version available.)
Install MySQL database, PHP and PHPMyAdmin database manager tool
Within the Synaptic package manager window, search for “phpmyadmin” and check the install checkbox.
Once the installation is finished, open the Terminal.
Secure MySQL
Once the installations are complete, return to the Terminal window. Run the following command:
sudo mysql_secure_installation Answer “yes” to all the prompts given by the installer.
Add yourself as a new MySQL user with administrative privileges
sudo mysqlmysql> GRANT ALL PRIVILEGES ON *.* TO 'student'@'localhost' IDENTIFIED BY 'gwd2019';Setup complete
Shutdown the computer. Take another system snapshot. Add a description like: “Web server software fresh install on January 22, 2019.”.
The virtual hardware and web server software are complete. Time to switch hats and stop being a System Administrator and become a webmaster.
Troubleshooting
Restore current snapshot
If the machine seems broken, you can restore it to a previous snapshot. (Do snapshots before installing new software and after the installation when you are sure the new software works.)